12/6/2023
Mini quiches, those delightful bite-sized wonders, have a rich history that traces back to the heart of French cuisine. Originating from the word "kuchen," meaning cake in German, quiche evolved over the centuries to become a beloved dish worldwide.
Mini quiches, those delightful bite-sized wonders, have a rich history that traces back to the heart of French cuisine. Originating from the word "kuchen," meaning cake in German, quiche evolved over the centuries to become a beloved dish worldwide.
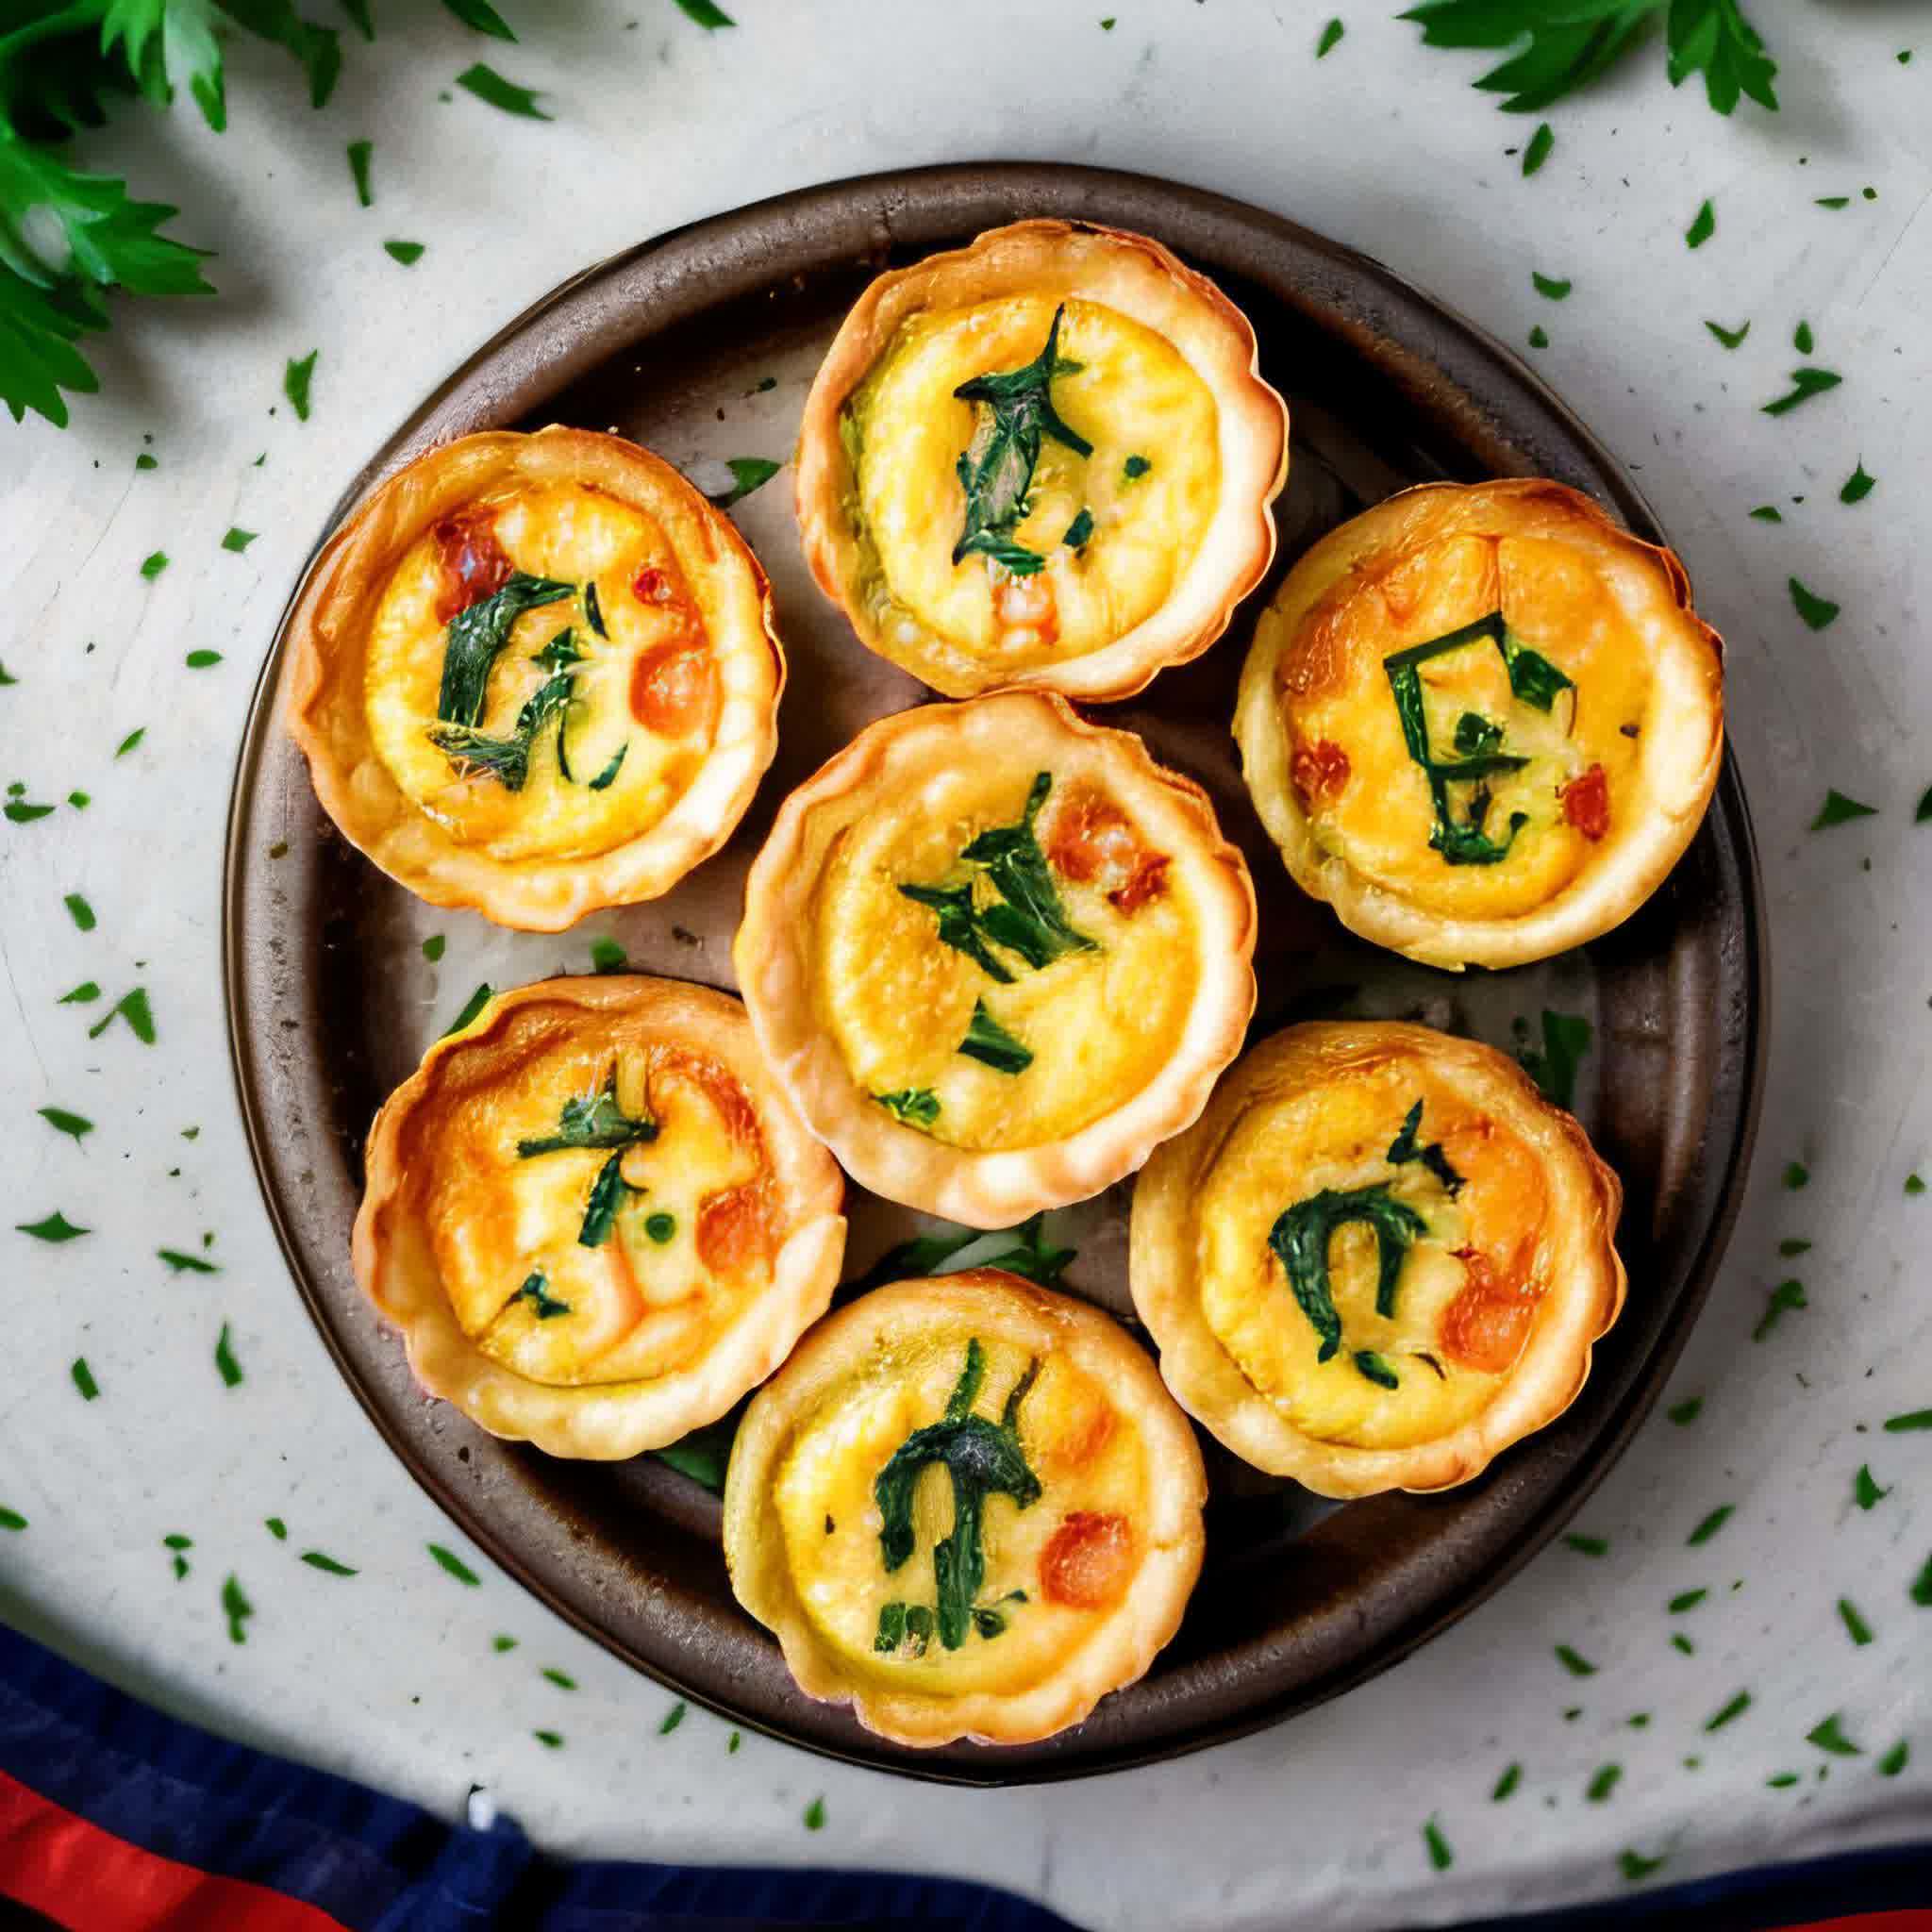
What defines the perfect mini quiche? It's the harmonious marriage of a buttery crust and a luscious filling that captivates the senses with each bite. These miniature treasures encapsulate the essence of a full-sized quiche but with the added charm of being conveniently small.
But what is it about mini quiches that makes them universally adored? Perhaps it's their versatility, seamlessly transitioning from brunch tables to cocktail parties. These little delights have a way of making any occasion feel special, whether it's a springtime picnic or an elegant holiday gathering.
Mini quiches are not confined to a particular season—they're a year-round indulgence. Picture yourself savoring a warm quiche on a crisp autumn morning or relishing the same delicacy at a summer brunch. Their adaptability ensures that they grace our tables whenever a touch of culinary magic is needed.
Now, for those new to the culinary realm, the prospect of crafting these miniature marvels might seem daunting. Fear not, for the beauty of mini quiches lies in their simplicity. As we navigate through this recipe, even novice cooks will discover that creating these savory bites is a joyous and achievable endeavor.
While store-bought mini quiches may tempt you, the allure of homemade ones is unparalleled. Not only does crafting them from scratch allow you to tailor flavors to your liking, but the aroma wafting from your oven will fill your kitchen with an intoxicating fragrance, setting the stage for a culinary masterpiece.
As we delve into the intricacies of our mini quiche recipe, the anticipation of the delicious journey ahead is palpable. Each step brings us closer to a symphony of flavors, where eggs, cheese, and a medley of ingredients dance together in perfect harmony within a golden crust.
Why You'll Love This Mini Quiche Recipe:
This isn't just a recipe; it's an invitation to create a dish that will become a staple in your culinary repertoire. The beauty of this mini quiche lies not only in its taste but in the joy it brings to those who savor it. From the simplicity of the preparation to the burst of flavors in each bite, this recipe is crafted to elevate your dining experience.
Health Benefits:
Beyond the indulgence, there's a surprising element of healthiness to these mini quiches. Packed with protein from the eggs and an array of vitamins from the vegetables, they offer a balanced and satisfying treat. The controlled portions also make them an excellent option for those mindful of their intake.
So, let's embark on this culinary adventure together, where the love for mini quiches meets the joy of homemade creations. Get ready to transform your kitchen into a haven of delicious aromas and your taste buds into avid enthusiasts for this mini quiche masterpiece.
Ingredients You’ll Need

**Ingredients: **
- Pie Crusts:
- Role: The foundation of our mini quiche, the pie crust provides a buttery and flaky vessel that cradles the rich filling. It adds a satisfying crunch and complements the creamy interior, creating the perfect balance of textures.
- Eggs:
- Role: The star of our show, eggs contribute to the quiche's velvety and custard-like texture. They bind the ingredients together, giving the mini quiches their signature consistency while providing a protein-packed foundation.
- Half and Half:
- Role: The addition of half and half, a blend of equal parts whole milk and cream, enriches the quiche filling. This dairy duo imparts a luxurious creaminess, elevating the overall mouthfeel of our mini quiches.
- Cheddar Cheese:
- Role: Cheddar cheese introduces a bold and savory element to the mix. Its sharp flavor adds depth to the quiche, creating a delightful contrast to the mildness of the eggs and the sweetness of the other ingredients.
- Cooked Ham:
- Role: The cooked ham, diced into bite-sized pieces, brings a savory and slightly salty note to our mini quiches. It infuses each bite with a meaty richness that complements the other ingredients, creating a harmonious flavor profile.
- Spinach:
- Role: Spinach contributes a burst of freshness and vibrant color to the quiche. Its mild earthy flavor provides a delightful contrast to the richness of the eggs and cheese, making the overall experience more dynamic.
- Bell Pepper:
- Role: Diced bell peppers add a sweet and crunchy texture to the quiche. Their vibrant colors not only enhance the visual appeal but also introduce a subtle sweetness that balances the savory elements of the dish.
- Onion:
- Role: Finely chopped onions bring a savory and aromatic quality to the quiche. When sautéed, they release their natural sweetness, enhancing the overall flavor profile and contributing to the complexity of each bite.
- Fresh Parsley:
- Role: Fresh parsley serves as a bright and herbaceous garnish, adding a pop of color and a burst of fresh flavor. Its presence lifts the overall taste, providing a clean and refreshing contrast to the richness of the quiche.
As we combine these carefully selected ingredients, each playing a crucial role, we orchestrate a symphony of flavors that transforms simple components into the culinary masterpiece that is our mini quiche.
How To Make Mini Quiche
1. Prep The Crust:
-
Ingredients:
-
2 store-bought pie crusts (or homemade if preferred)
-
Instructions:
-
Preheat the oven to 375°F (190°C).
-
Roll out the pie crusts and, using a round cutter or a glass, cut out 12 circles that fit the mini quiche pans.
-
Gently press the crust circles into the greased mini quiche pans, ensuring an even layer on the bottom and up the sides.
-
Trim any excess crust hanging over the edges for a neat appearance.
-
Prick the crusts with a fork to prevent air bubbles during baking.
-
Place the prepared crusts in the preheated oven and bake for 8-10 minutes or until lightly golden. Remove and set aside.
2. Make The Filling And Fill The Cups:
-
Ingredients:
-
4 large eggs
-
1 cup half and half
-
1 cup shredded cheddar cheese
-
1 cup cooked ham, diced
-
1 cup fresh spinach, chopped
-
1/2 cup bell pepper, diced
-
1/4 cup onion, finely chopped
-
2 tablespoons fresh parsley, chopped
-
Salt and pepper to taste
-
Instructions:
-
In a mixing bowl, whisk together eggs and half and half until well combined.
-
Season the egg mixture with salt and pepper to taste.
-
Add shredded cheddar cheese to the egg mixture, stirring until evenly distributed.
-
In a sauté pan, cook diced ham until lightly browned. Remove from heat and let it cool.
-
In the same pan, sauté spinach, bell pepper, and onion until softened. Allow the mixture to cool slightly.
-
Add the cooked ham and sautéed vegetables to the egg and cheese mixture. Mix well.
-
Spoon the filling evenly into the pre-baked mini quiche crusts.
-
Sprinkle fresh parsley on top for a burst of color and flavor.
3. Bake:
- Instructions:
-
Place the filled mini quiche pans in the preheated oven.
-
Bake for 15-18 minutes or until the filling is set and the crust is golden brown.
-
Remove the mini quiches from the oven and let them cool for a few minutes.
-
Gently run a knife around the edges to loosen the quiches from the pans.
-
Transfer the mini quiches to a serving platter and serve warm.
Note: These mini quiches can be enjoyed immediately or refrigerated for later consumption. They can also be frozen for a convenient make-ahead option.
Frequently Asked Questions
- Can I use a pre-made pie crust?
- Absolutely! Pre-made pie crusts are a convenient option that can save time without compromising on taste. Ensure to follow the baking instructions on the packaging for the best results.
- What are alternative dairy options for lactose-intolerant individuals?
- For a lactose-free alternative, consider using a non-dairy milk such as almond milk, coconut milk, or lactose-free milk. Additionally, using a dairy-free cheese substitute can still yield a deliciously satisfying mini quiche.
- How do I store leftover mini quiches?
- Store leftover mini quiches in an airtight container in the refrigerator for up to 3-4 days. To maintain their freshness, reheat in the oven or microwave before serving.
- Can I make mini quiches ahead of time?
- Absolutely! Mini quiches are an excellent make-ahead option. Prepare the quiches up to the point of baking, cover tightly, and refrigerate overnight. Bake them when ready to serve for a quick and impressive meal.
- What variations can I make to the filling?
- The beauty of mini quiches lies in their versatility. Feel free to experiment with various ingredients such as different cheeses, vegetables, meats, or even seafood. Customize the filling to suit your taste preferences and get creative with flavor combinations.
- How do I know when the quiches are done baking?
- To check for doneness, insert a toothpick or knife into the center of a mini quiche. If it comes out clean or with just a few moist crumbs, the quiches are ready. The edges should be golden, and the filling set. Keep in mind that baking times may vary, so monitor them closely as they bake.
Expert Tips
- Chop Fillings Small
- To ensure even distribution and a delightful bite in every mini quiche, chop your fillings into small, uniform pieces. This ensures that each bite is a harmonious blend of flavors without overwhelming chunks.
- Use Ingredients at Room Temperature
- Bring your eggs, half and half, and any dairy ingredients to room temperature before mixing. This helps in achieving a smoother and well-incorporated filling, ensuring a consistent texture throughout your mini quiches.
- Mix Up the Fillings
- Don't be afraid to get creative with your fillings. Experiment with different cheeses, vegetables, and proteins to tailor the mini quiches to your taste. The possibilities are endless, so let your culinary imagination run wild.
- Check if They’re Done Right
- To ensure perfectly baked mini quiches, use the toothpick or knife test. Insert it into the center of a quiche, and if it comes out clean or with just a few moist crumbs, they are ready. Keep an eye on the edges – they should be golden, and the filling set.
Store
- How to store leftovers? How many days can it be kept?
- Store leftover mini quiches in an airtight container in the refrigerator. They can be kept for up to 3-4 days. Ensure the container is tightly sealed to preserve their freshness.
- If it needs to be stored for a long time, how should it be processed and how long can it be stored?
- For longer storage, consider freezing the mini quiches. Place them in a single layer on a baking sheet and freeze until solid. Once frozen, transfer them to a freezer-safe container or resealable bag. Properly stored, mini quiches can be kept in the freezer for up to 2-3 months.
- How to reheat?
- To reheat mini quiches, preheat your oven to 350°F (175°C). Place the quiches on a baking sheet and bake for 10-15 minutes or until heated through. Alternatively, for a quick reheating option, use a microwave in short intervals until the desired temperature is reached. Be cautious not to overheat, as it may affect the texture.
Serving Suggestions
- Best ways to serve and present Mini Quiche
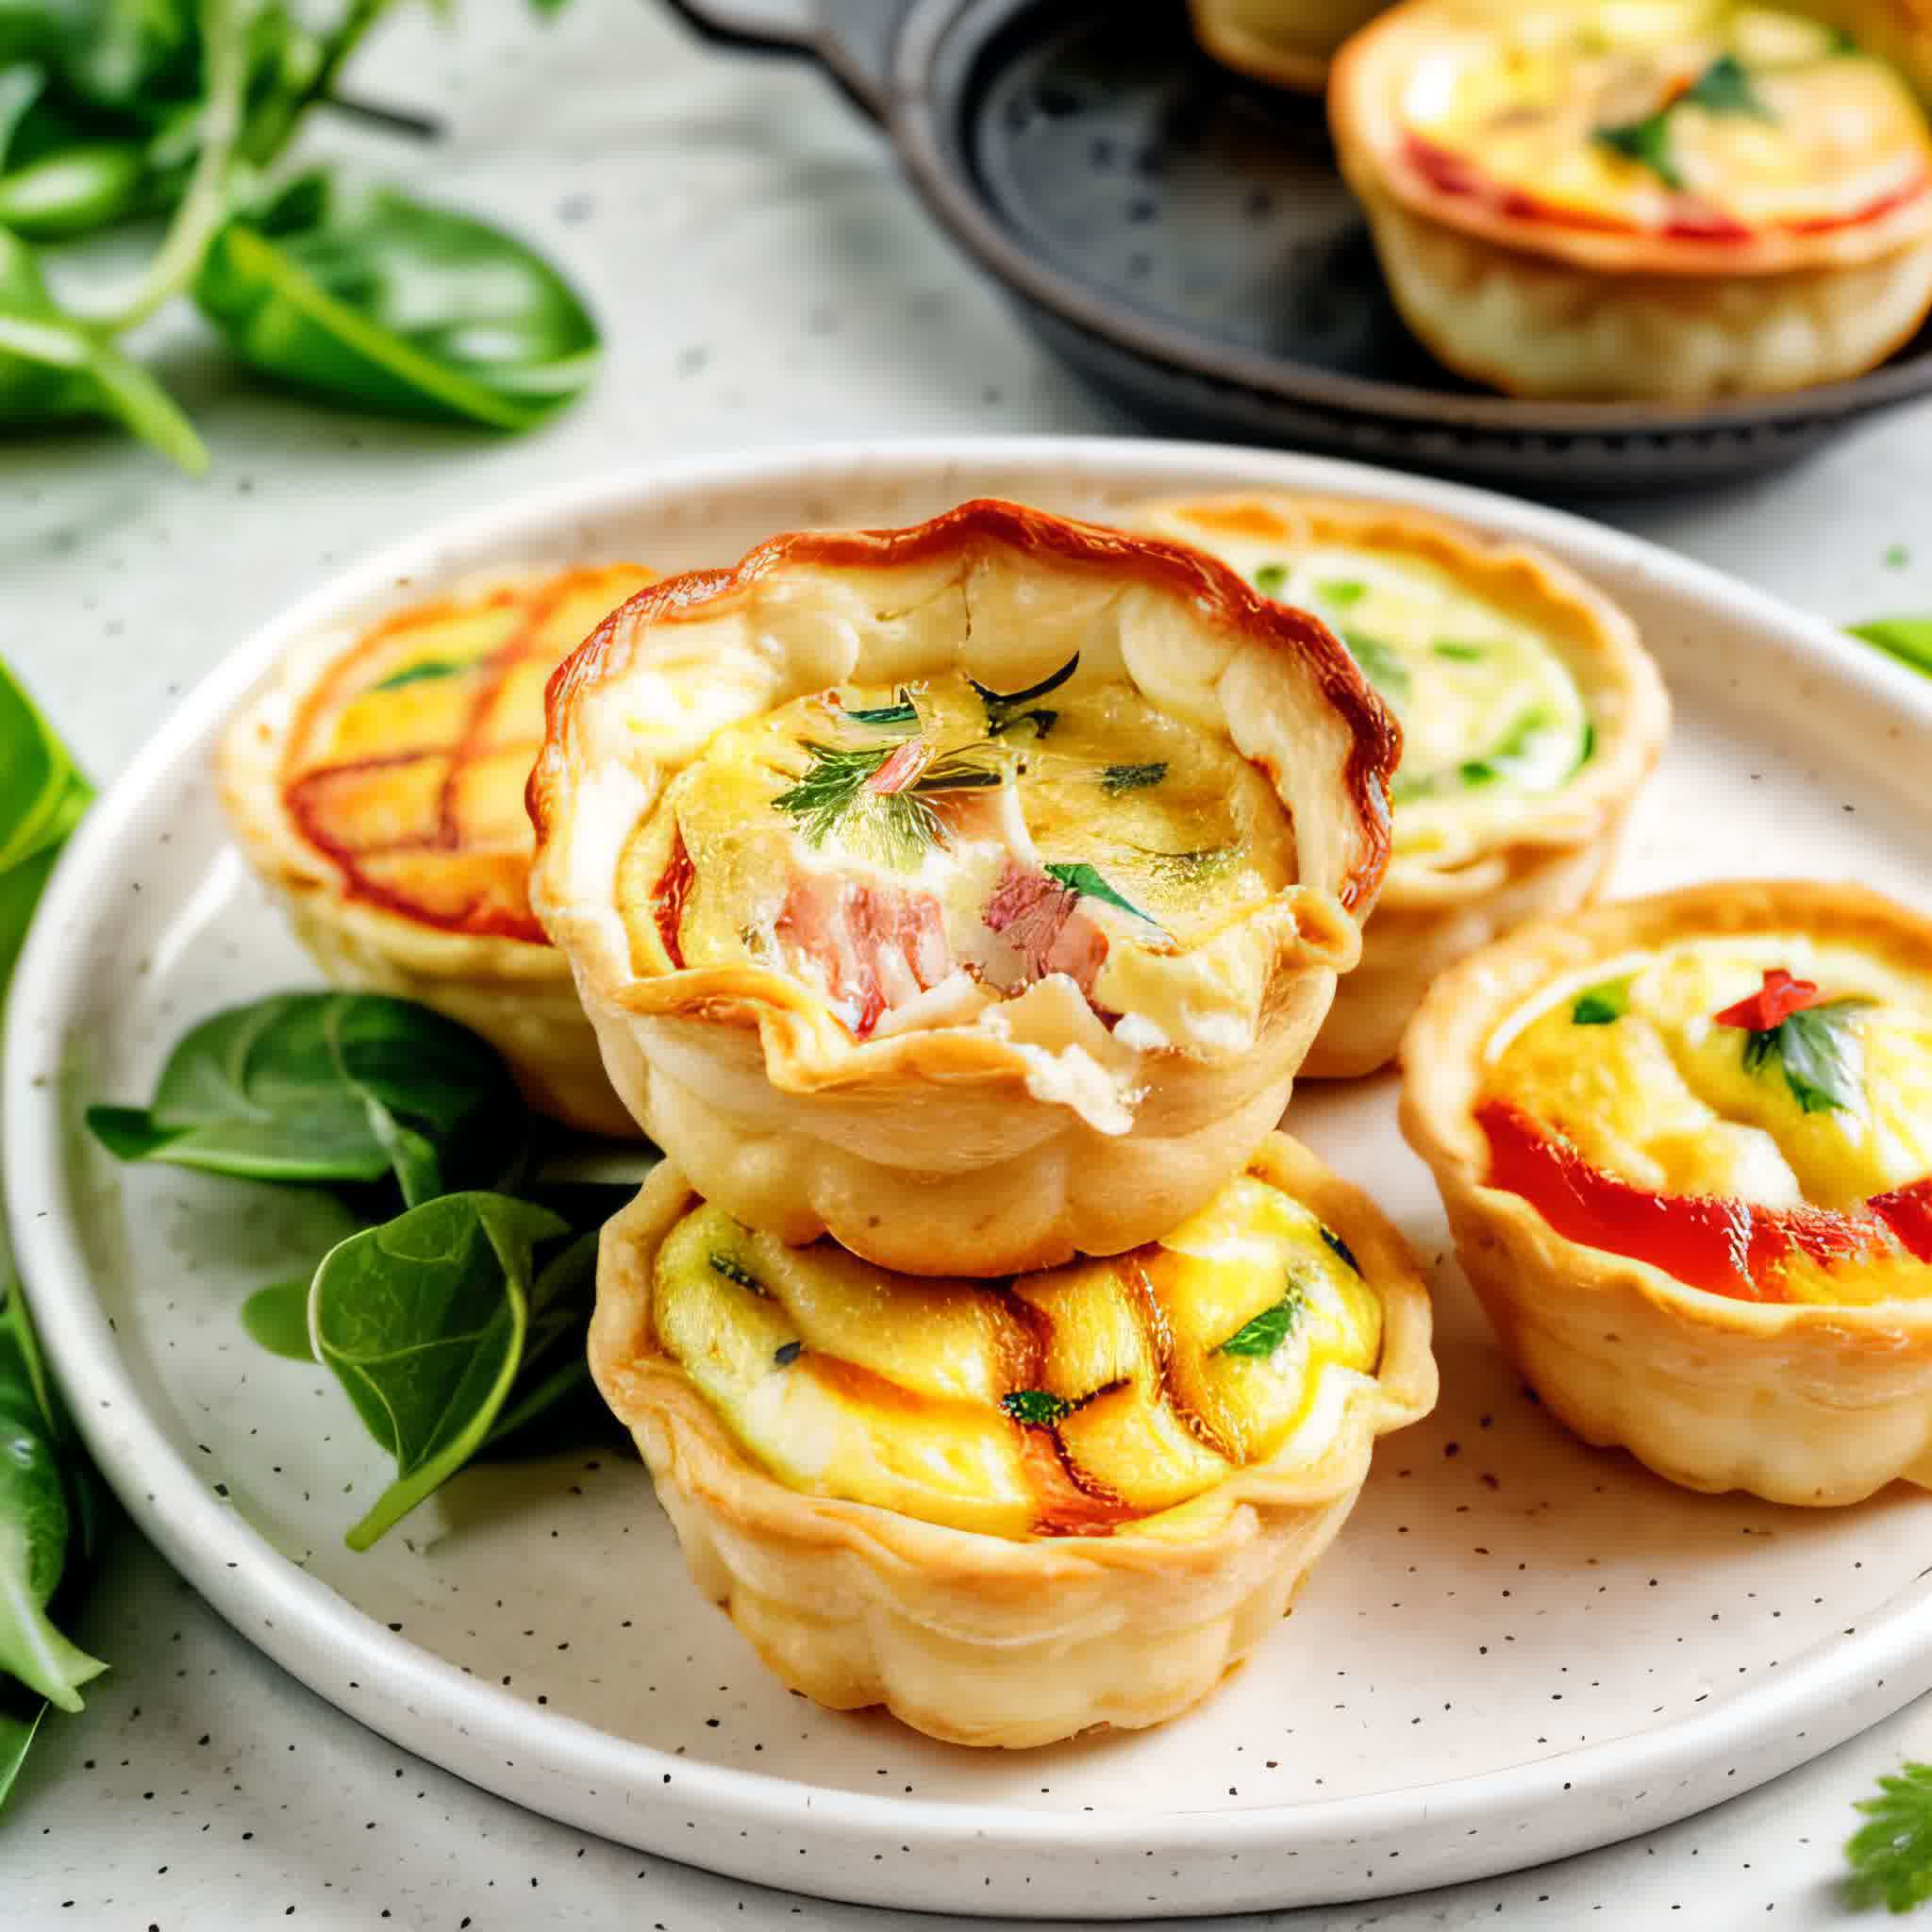
- For an elegant presentation, arrange the mini quiches on a decorative platter. Consider garnishing with additional fresh parsley or a sprinkle of grated cheese for a finishing touch. Placing them on a tiered serving stand adds a touch of sophistication, making them a visually appealing centerpiece for any occasion.
- Pairing options with condiments
- Enhance the mini quiche experience with a selection of complementary condiments. Offer a side of tangy Dijon mustard or a zesty salsa for a burst of flavor. A dollop of sour cream or a drizzle of balsamic glaze can also elevate the taste. Consider serving alongside a crisp mixed green salad for a refreshing contrast.
Tips for Success
- Common pitfalls to avoid
-
a. Overfilling the mini quiche cups: Be mindful not to overfill the cups, as the filling expands during baking and may overflow, affecting the final texture.
-
b. Not pre-baking the crust: Ensure the crust is pre-baked before adding the filling. This prevents a soggy bottom and ensures a crisp, golden crust.
- Expert advice for perfect Mini Quiche every time
-
a. Experiment with flavors: Don't hesitate to explore different flavor combinations for your filling. From herbs to various cheeses, the possibilities are vast.
-
b. Customize for dietary preferences: Adjust the recipe to accommodate dietary preferences or restrictions. Use alternative cheeses, dairy-free milk, or vegetarian proteins for a personalized touch.
-
c. Monitor baking closely: Keep a watchful eye on the mini quiches during baking. A toothpick or knife inserted into the center should come out clean or with a few moist crumbs to ensure they are perfectly cooked.
Conclusion
-
As we conclude our exploration into the world of homemade mini quiches, let's reflect on the journey we've undertaken. From the meticulous preparation of the crust to the artful blending of diverse ingredients, each step has been a celebration of flavors and textures.
-
Embark on your culinary adventure and bring the joy of homemade mini quiches to your table. Whether you're a seasoned chef or a novice in the kitchen, the simplicity of this recipe is an invitation to create a masterpiece. Let your creativity flourish, and savor the delightful results with each bite. Happy cooking!